Category Archives: Apologia Biology

Biology Lab Questions

This will be linked to the FAQ question post.

Reader’s question:  Could you explain what you require in a formal lab report and if you feel that all labs lend themselves to a formal write up?

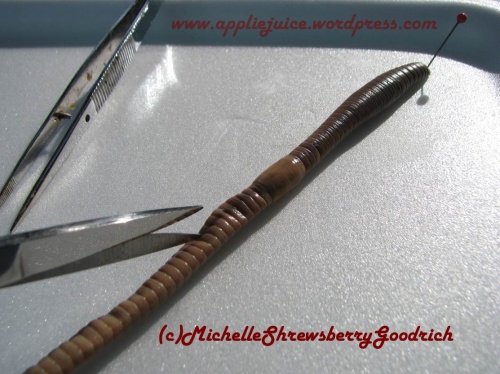
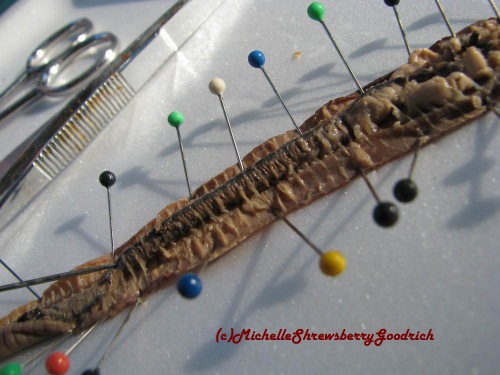
I have my students write (type) a semi-formal lab report. I do not have them write a hypothesis for Biology, but I do require it for Physical Science and Chemistry.  For the conclusion, the students are to write a paragraph (high school level) describing the object they are looking at.   For example for the worm, they should write how it breathes, eats, crawls, explain the different systems, etc.  Students opinions are not acceptable.   I use to say write what you learned and all I would get was, “This was a fun experiment.”  or “The worm really stinks.”  or nothing at all because the student said he didn’t learn anything new.

Here are links to my handout for each student.

How to write a lab report

How to set up your lab notebook.

The labs in the textbook are written as if Dr. Wile is talking directly to the student.  Therefore; they get a little wordy.  I tell my students to write the labs in their own words and cut out the wordiness.  For example: Experiment 1.2 Part C

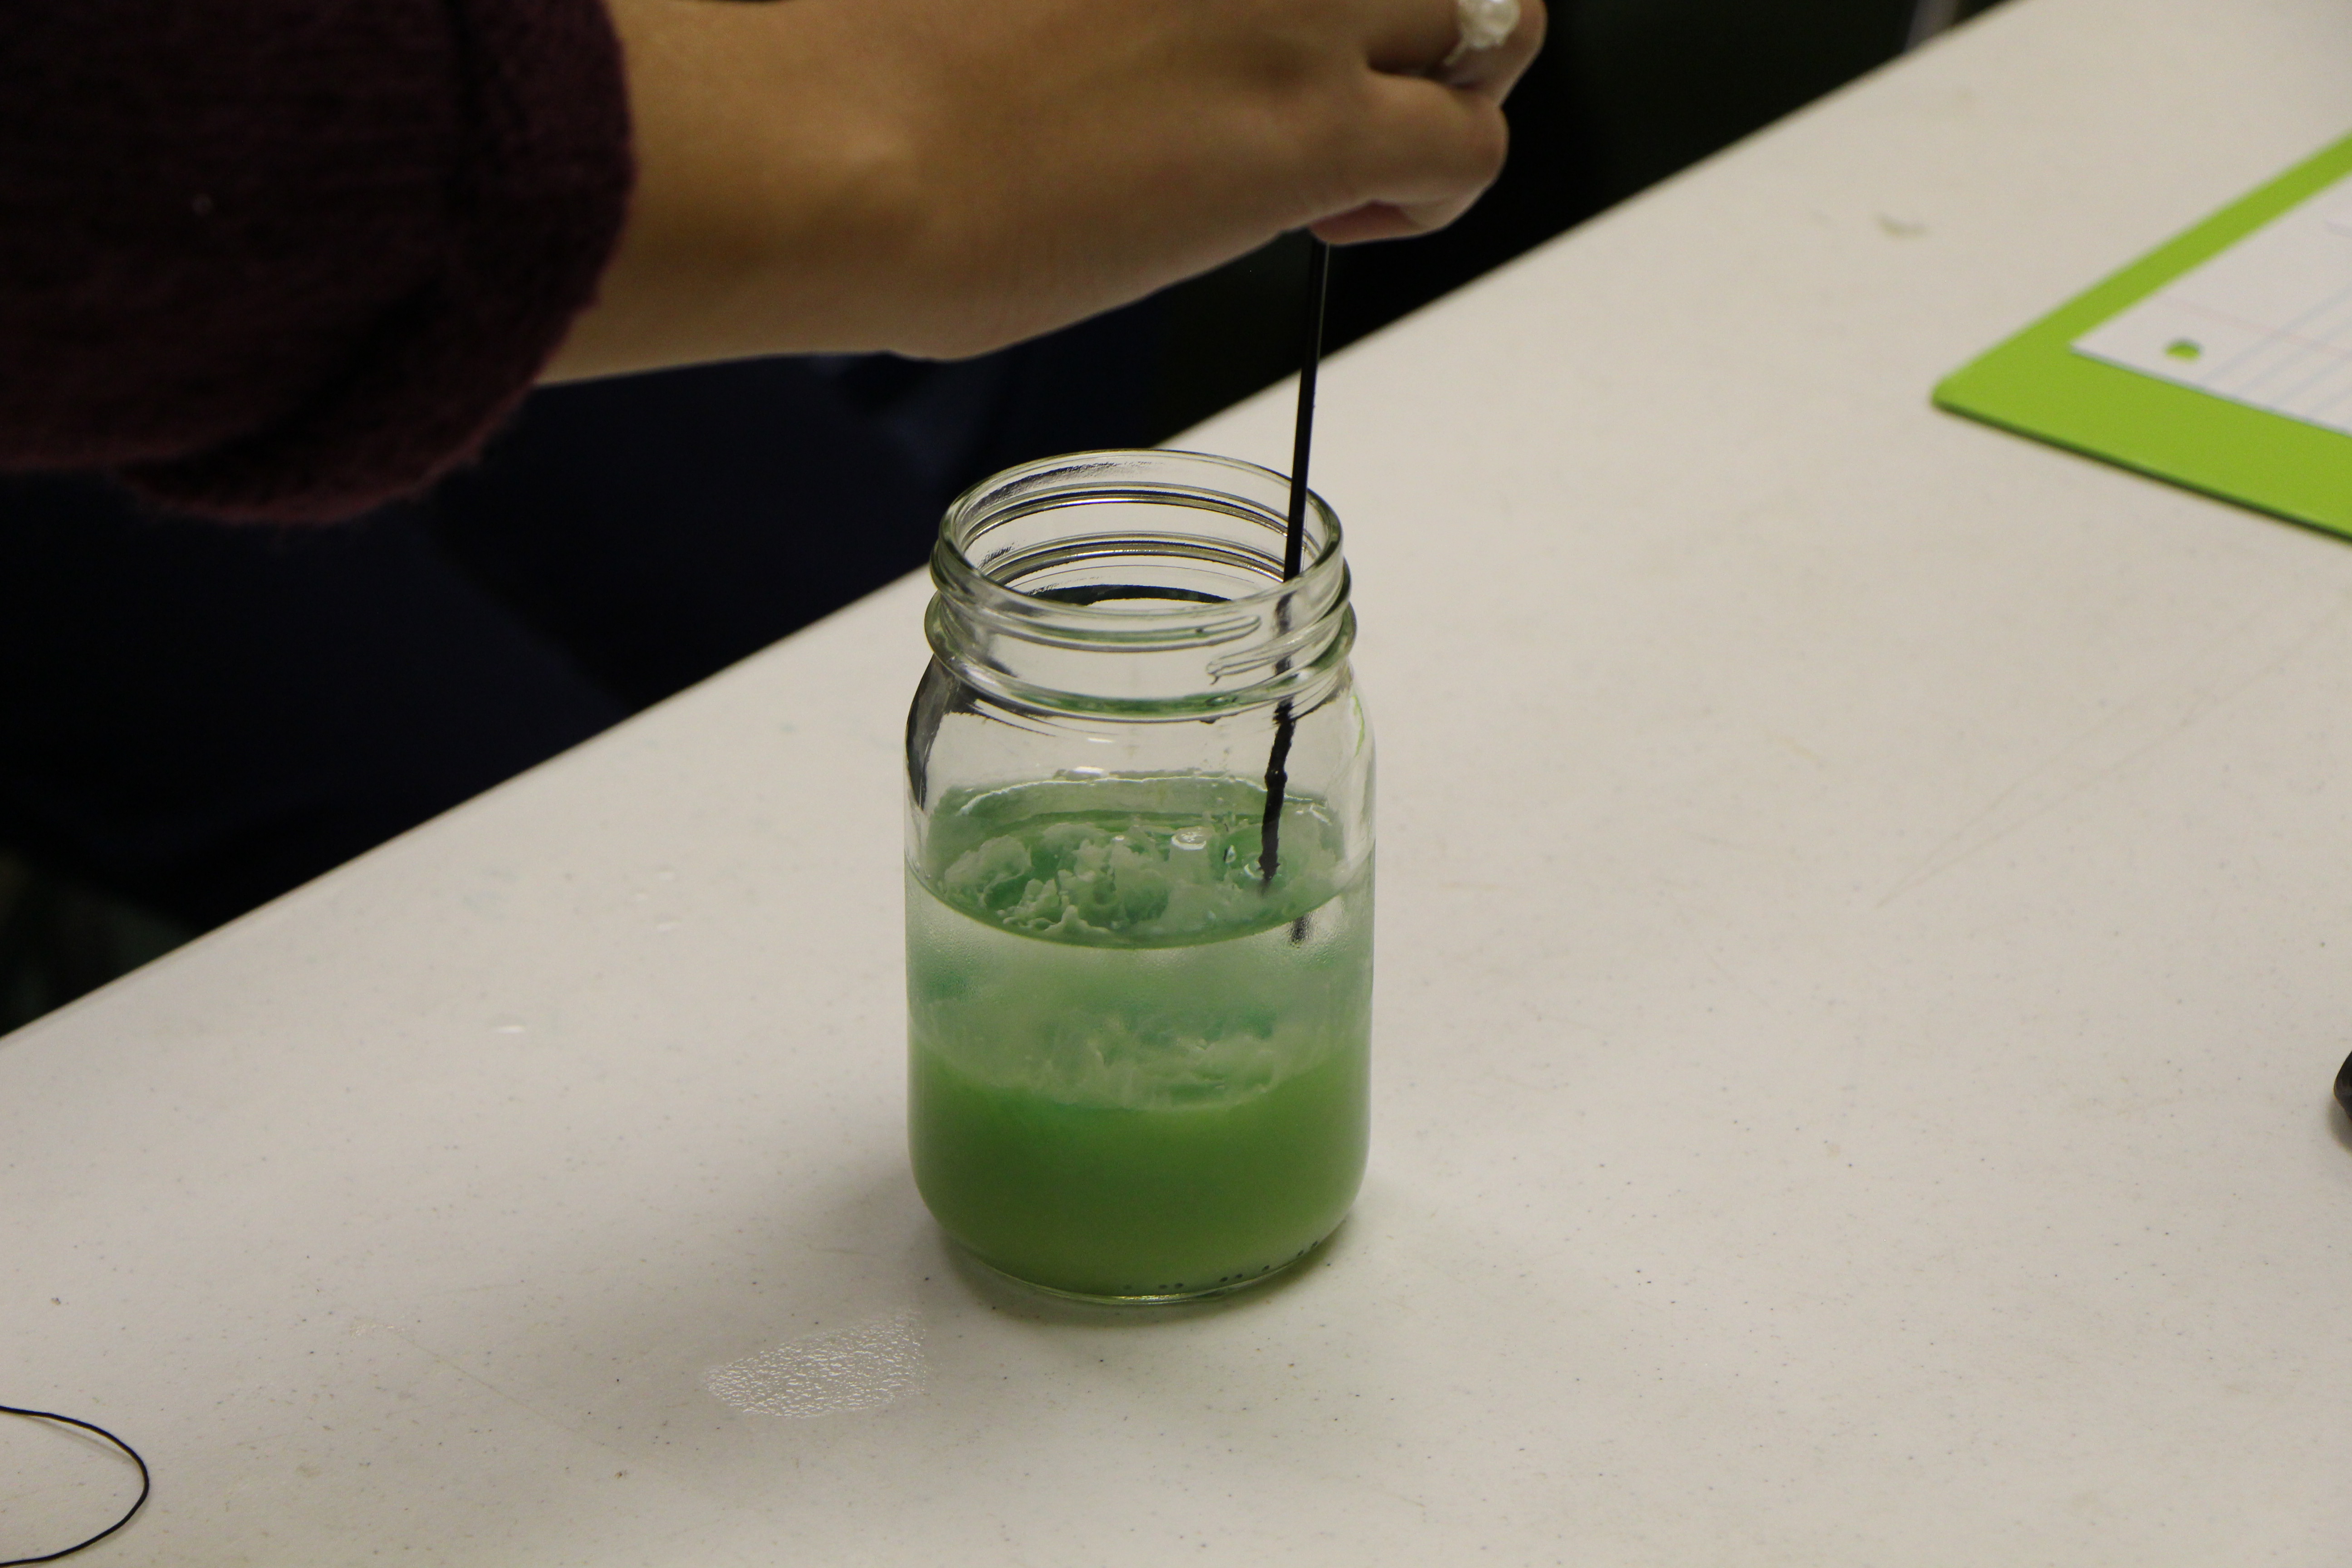
“Step 4:  If you were to look at the cells under the microscope right now, it would be hard to find them, because they are almost transparent.  To help make them easier to see, you will add a dye to them.  This dye is called a stain, and it will help contrast the cells against the light, making them much easier to see. Place a drop of methylene blue stain on the area where you placed the cells. (This stain will not come out of most fabric, so use it with care.)”  From Exploring Creation with Biology, 2nd Edition, page 32.

That is what the student needs to hear/read, very important.  It is not what they need to write in their lab report.  Instead, write this or something like it:

Step 4:  Place a drop of methylene blue stain on the area where you placed the cells.


A reader’s question:  We will have 24 weeks, meeting weekly for about 45 minutes to an hour. The plan is to have the kids read and do the work outside of class and do the experiments during class. Are there any experiments you would skip or chapters that can be left out or gone over quickly?  This is probably my most asked question.  🙂 The list below is what I usually do and it is not meant as a replacement schedule for what is in the book.  You as the teacher know what you can and cannot do and what is best for your students.


I do not have students write a lab report for all experiments.  Here is what I usually do:

  • Experiment 1.1 – Lab was not written up.  I made a worksheet the kids filled out at home.
  • Experiment 1.2 – Write section C, the cheek cell section.  Students do play around with the microscopes to understand it and know the function of each part.    
  • Experiment 2.1 – written up.  
  • Experiment 2.2 – written up.   We also try to do experiment 3.1 at the same times as 2.2,  but only look for the specimens mentioned.  3.1 was not written up.  If anything was found it was written in the result section of Exp. 2.2
  • Experiment 4.4  – skipped.  Cheese is expensive and we couldn’t find anything on it anyway.
  • Experiment 5.3 – skipped because we never had time for it in class. We will be doing this for 2016.
  • Experiment 8.4 – skipped. I don’t remember why. LOL
  • Experiments 8.2 and 8.3 – not written up. Instead, the kids filled out a punnet square worksheet during class time.
  • I totally skipped Module 9- I didn’t have time.  Some students read this on their own at home.  No test or quiz.  I may do this module for 2016. 
  • Experiment 10.1 – skipped.  I can never get this one to work. 
  • Experiment 12.2 – skipped  Bug board was done instead.   Bugs will be sketched for 2016.
  • Experiment 14.1  No lab was written, but they had to make the book with the leaves.
  • Experiment 16.1 -skipped only because we cannot see the slide that came with this textbook.  I found a great video to watch instead and we just talked about it.
  • Experiment 16.2 – skipped because we went on a day-long field trip.  The students had a list of items they had to find and identify.    For 2016 year we will do the Great Backyard Bird Count in February.

How long does it take to complete the labs?  That depends on the lab.  A few labs take days and these are done at the students home.   Others are very quick, but I can’t think of a specific one at the moment.   The time consuming part is sketching and dissecting.  If you have a student who hates to sketch, it will be very quick.  If you have a student who loves sketching, it will take forever. LOL  I schedule at least an hour for the longer labs.

Tip to make labs go quickly and smoothly:  Have your students write the labs up through the procedure BEFORE coming to class.  This ensures the students have actually read the experiment and they know what to do.  The student can use their notes instead of the textbook, which takes up space on the table.  I take off points if the lab is not written in advance.

I’ll add more if I think of anything else.

Enjoy the experiments!

FAQ -Biology Class


Schedules:

Can you send me the Biology schedule in a format that I can change?  No. The Pdf format is all that I can give you.  If you need an editable schedule, please visit www.donnayoung.org.

Can you change the schedule form for me?  No.  See above

Is subscribing for DonnaYoung.org worth it?  Yes! I get most of my forms from her site.

Supplies:

Where do you get your supplies?
Textbook and Solutions from Rocksolidinc.com  I do not buy the CD, Audio, or Flash Cards, but I do know they have helped some students.  It depends on your needs.
3-ring notebook
– 1″wide, for graded lab write-ups – Where ever it is cheapest.
Basic Lab Form – Donnayoung.org !  I’d rather use a Meade Composition book, but that doesn’t work when we meet only once a week. 2015 and beyond I have the students type them up.
Plain paper for sketches – Office Depot
Colored pencils – Cheapest place
Dissecting Tool Kits – HomeScienceTools has great prices on dissecting tool kits. They also have great prices on individual pieces.
Styrofoam Meat Trays   I prefer the meat trays you get in the meat department at the grocery store.  The only reason I like them better than the dissecting trays is because of the cleaning and after awhile they get really stinky.   We get the meat trays free from Winn-Dixie and Publix grocery stores.   I double the trays for the frog.

Specimens

Where do you buy your specimens?  worm, crayfish, perch, frog ordered from Carolina.org   2016 – Carolina no longer ships the perch to your resident.  This year, we are going fishing. 🙂

Why don’t you buy your specimens from Home Science Tools?  You can find that answer  here.  Tools, I’ll buy.  Specimens, no way.

Do you reuse your scalpels or replace them with a new blade after each specimen?  We use new blades.  After breaking four “used” blades on the perch in previous years, I have decided we should use new blades for each specimen.

Isn’t that expensive? It only costs $2.00 for a package of ten. 

How do you dispose of the specimens when you are done?  Aren’t they harmful to the environment?  The specimens are not classifiable as federal hazardous wastes and do not represent a biohazard. After they have been displayed to the co-op members about to have lunch, the specimens go right into the dumpster.

Continue reading

A Hunting We Will Go…

One of the big projects I have the Biology students do for months is insect collecting.   All students are required to obtain, classify, and pin to a board 30 insects.

This project is announced early in the year, so the kids can start looking.  Here in Florida it is usually easy to find insects, so I do not accept the excuse that they couldn’t find any.  Really? In Florida!

To help with the hunt, I took the students on an optional Field Trip to a local park.  This park is known for its bugs, except for this day. :/

Camp Tomahawk 001

Here is the group heading down the path.   As you can see, this looks like it would be a great place for a hunt.

Camp Tomahawk 004

We looked high and low and found only iddy biddy bugs.  These bugs were so small we had to put them in bags to pin them to the board.

Here I am trying to coax a few critters to give up their life for the insect board.  It didn’t work.  Yeah, they knew we were coming…

On a brighter note, I am sporting my new day pack, Osprey Sirrus 24 in Summit Blue.  It is bright for my outdoor adventures, but it was the only pack that would fit me.  Ignore the ugly pink shirt.

Camp Tomahawk 012

We get to a bridge and I want a group picture.  While posing a bug flies into our vicinity.  One student takes advantage of the situation.

Camp Tomahawk 025The bug tries to escape by flying from a student’s face to my face.  The student in the hat, does not give up and doesn’t care he is about to smack his teacher in the face to get the insect.  Since I love students who don’t give up, I can handle the smack. 😀

Camp Tomahawk 026

Finally!  Bug in jar and photo taken.  Hooray!

Camp Tomahawk 028

Even though this was a moderately unsuccessful bug hunt, the trip as really nice. The weather was great, the kids had fun, the flowers are pretty, and I got to wear my new pack. Thumbs up all around. 😀

Camp Tomahawk 036

Get outside!

Invertebrates – Continued

Exploring Creation with Biology – Module 11  Invertebrates 😀  Ya’ll know you want to hear more about worms.  Plus some other goodies I want to share.

See yesterday’s post.

Classification:

  • Kingdom:  Animalia
  • Phylum:  Annelida (segmented worm)
  • Class: Clitellata (has a clitellum)
  • Order: Haplotaxida
  • Family: Lumbricidae  (33 species)
  • Genus: Lumbricus

Some interesting facts I found around on the web.

  • Length can be around 3 inches to 11 inches
  • Roughly 2700 different kinds of earthworms
  • In 1 acre of land there can be more than 1 million worms.
  • Largest worm found was 22 feet long. South Africa.  😯
  • Worms are cold blooded
  • Baby worms hatch from cacoons
  • If their skin dries out they die
  • If their skin absorbs too much water, they drown.
  • They are made of 80% water.
  • Worms are excellent composters and are used in many compost piles.  See Vermicomposting.
  • They aerate the soil and move nutrients around.
  • They have both male and female sexual reproductive organs.
  • They usually live 3 to 4 years.

And here are the awesome photos that I showed in a powerpoint.  Yep, oversized in your face worm guts.

Cut_edited-1

Worm 2_edited-1

worm2 copy

Pretty aren’t they?  Feel free to copy and use in your class.  You could even use them for wallpaper in your bedroom.   You’re welcome!

Let’s back track to the beginning of the module, because I totally forgot to blog about it.

There are three types of symmetry: Spherical Symmetry, Radial Symmetry, and Bilateral Symmetry.   Humans are Bilateral.  To prove that we may look the same on the left and right sides, but actually are not, I took mugshots of each of the students.  Them I promptly lost a couple somewhere inside my computer and had to use different photos that were not really mugshots.

I tried to slice the faces (That sounds bad, doesn’t it?), straight down through the nose.  These kids didn’t look weird as previous students.  I was seriously bummed about that, but you can still see a difference when the left sides are paired together and the right sides are paired together.

20150127_112448_resized

20150127_112535_resized_1

Oliver

That was fun. 🙂

Now on to my favorite videos for this module.  I whole heartily belive sometimes you need a video done in real life to get the wow factor in Biology.  Just learning how a sponge pulls water through its walls and out its osculum isn’t as exciting as seeing the real thing.

Barrel Sponge Filtering Water  – really nice video showing a sponge filtering water.  Must see, of course.

Oh and jellyfish or other animals that have nematocysts that sting.  Yeah, not so exciting as seeing the real thing.  Here are two videos for you.

Nematocysts Firing – no sound

Jellyfish Stinging Microscopic Slow Motion – This video is just over 6 minutes but worth watching.   It does speak of evolution, so please preview before showing to the students.

Moon Jellyfish Life Cycle – no sound.

As always, don’t read the comments on YouTube.  Want a way to see the videos without all the comments and unwanted videos on the side?  I use Keepvid to download the videos and then show them to the class.

Wow, this is a long post. Thank you for reading it!

Let me know if you have any questions.

Read what we have done in the past here.

Worms

With many groans, I handed out the worms.  This tube of 12″ Earthworms is from www.carolina.com and all were in excellent juicy shape!

2015-02-02 002

Once the first one was out, most of the students were looking forward to the experiment.

2015-02-02 014

Except one.  I had to remind everyone in the class that there are NO WIMPY kids in my Biology class.

2015-02-02 021

I talked a few minutes about each of the systems:  Digestive, Nervous, Circulatory, and Reproductive.  The slimy tube reference in the Reproductive System didn’t go over too well with the students. I kinda went very fast through that system and told them to make sure they read that section.  LOL

First thing first, touch it. 😀  You can name it if you want to.

2015-02-02 027

The dissection lab and the write-up will be the hardest grade the student will earn.  I warned them with this email message.  Feel free to copy it to you students.  It worked wonders and all had their lab write-ups prior to class.  Next week, I’ll get their final write-ups and let you know how they did.

Ok Students, listen up!

Commence lecturing…

You must have your Exp. 11.3 Worm Dissection, written up before coming to class.  You must read this module before coming to class.  For this experiment you will only be using your notes.  Since lab write-ups are to be written in such a way that anyone can pick it up and perform the experiment, you should be able to complete this assignment without any help from me. laugh

Points to remember:

  • Your lab must be written-up prior to class.
  • Leave your books at home. You don’t need them in class this Tuesday.
  • You will be sketching. Please bring UNLINED paper for your sketches.  This is a High School college prep course. Step up to it.
  • You will make the sketches in a reasonable size.  One inch sketches are not acceptable. Huge kindergarten sketches are not acceptable.
  • Use pencil, not a pen.  Cover your pencil in plastic wrap to protect it from worm guts.  I do have gloves, but they are not to be used for the pencil.
  • You will take your time with this dissection.  You will make detailed sketches. You will not make sloppy sketches.  You will learn something.  You will NOT finish this in 5 minutes.
  • If you need a surgical mask, please bring it.
  • If you need to step out of the room for some air, please do so and come right back.
  • Every student will dissect their own worm.  Every student will complete this dissection.  I know there are no wimpy students in my Biology class.  yes

You have been writing labs since the beginning of this class.  Some of you have done well, some of you have done ok, and some of you have not done so well.  The dissection write-ups will be graded the hardest out of all our write-ups.  Please keep this in mind and do an excellent job with your write-ups.

Terminate lecturing….

2015-02-02 031

Getting the first cut is a little nerve wracking for the kids.  It isn’t easy to judge how far you should cut through the skin, but it all went well.

2015-02-02 032

Except for the ones that went a little too far.  Yep, not much left to see there!  Thankfully, I had visuals.   Bigger than life photos of previous dissections.  I will post them tomorrow for your enjoyment. My favorite videos for this module wil also be posted. 🙂

2015-02-02 041

Only one student brought in a mask. I couldn’t smell it very much, but some of the kids could.  Carolina Biologicals do not use You can read about our specimens from Carolina  here.

Quotes from Carolina: Carolina’s Perfect Solution® – an alternative to formaldehyde – is a revolutionary fixative that produces superior specimens while improving the safety of your classroom or lab. Tissues and organs are extremely lifelike and retain better color and texture than with other preparations.

2015-02-02 038

Here is a pretty good cut, but this student needed to cut a few more of the septa.  The Septa is the string like thing that separates the worm into sections.  Once you slice those, your worm can be pinned back and expose the organs better.  Was that TMI?

2015-02-02 040

I would love to say that ALL the students enjoyed this, but… I can’t. Guess who this kid belongs to.

2015-02-02 035

Enjoy!

Genetics and Spudoodles

This past Tuesday was our last  Biology class before Christmas break.  We are covering Module 8 – Mendelian Genetics.  Which is, genes determine traits.  Each living creature’s has two alleles that make up that trait.  One from the daddy and one from the mommy. 😀

Since we are going to continue with Module 8 when we return after the new year, I spent the class time going over genotype, phenotype, alleles, and dominant alleles and skipped the punnet squares.  To help with this and make this last class time a fun one, we made Spudoodles.   You can see what we did in 2010 and in 2013.   As you can tell in the two posts sometimes the kids are not too thrilled with this project.  Actually only two kids were NOT happy with it.  So, give this project a try, because the majority of the kids like it.   Like this year!

I updated my Spudoodle worksheet to fit this class.  I don’t think I saved a copy, but you can get the previous version here.   I put enough alleles (letters) in each bag to make sure the selection was different.  For example, I made sure some of the spuds were bald, some had 2 legs and some had 4 legs, etc.  Two of the alleles were on lime green paper.  That meant they were mutations.  One spudoodle had long skinny legs, instead of stubby thumb takes.  The other had three ears instead of 2 or 4.

The students were to pick an allele from the blue (dad) bag and one allele from the pink (mom) bag for each trait.  There were 8 traits total.

2014-12-08 018

Next the students listed what their genotype was (the two alleles), and the phenotype (hair, no hair, curly tail, etc).  Once that was done I gave them a spud with a diaper on it.  I don’t know why I did put a diaper on it, but it was funny.  I did tell the students since parents don’t get to pick their kid, the students don’t pick their spud.

2014-12-08 005

Then they were to build it using the items I provided.

  • Hair – toothpicks
  • Eyes- brads
  • Nose – gum drops
  • Ears – Gummy bears
  • Mouth – pennies
  • Female – pink straight pen for the head.  I forgot to bring bows.
  • Legs – thumb tacks and long paper clips (mutation)
  • Tail – pipecleaners

2014-12-08 007

2014-12-08 008

Most of the students had a great time with it.  Like this girl below.

2014-12-08 011

She said the worksheet was the birth certificate.  She gave it a name, DOB, time, weight, lenght, Mother and Father names, and look to the left you’ll see the spudoodles little foot print.  LOL   This has never happened in my class before. Once she did that, the others followed.  Even the boys.

spud chart

All enjoyed and didn’t mind if I took pictures.  Except for this student.  Yeah, she is excited to have her picture taken.

20141209_115346

See, she is thrilled!   Just so you know, this is my daughter.

2014-12-08 013

Here is the family portrait!  I just realized there are four with diapers and four without and they are every other one.  That was not planned.  LOL

20141209_120315

Module 7 – Cellular Reproduction and DNA

I believe my class is ready for Christmas break.  The last few Tuesdays, the students have been lethargic.  I thought for sure the extraction of pea DNA would wake them up.  Nope.

It is always a good idea to practice your experiments before going into the classroom.   Rule #1: If it doesn’t work at home, it will not work in the classroom.  Yeah, it really doesn’t.

What you will need:

  • A good blender
  • Toothpicks (long wooden skewers work best)
  • Clear liquid soap  (Dawn works best and we used the blue one)
  • Salt
  • Water
  • Strainer
  • Glass jar
  • Meat tenderizer
  • Rubbing alcohol  (cold)

2014-11-17 001

I did this experiment at my home the night before co-op.  I used Sam’s Club antibacterial hand soap with light moisturizers.  It didn’t work, people.  It didn’t even work the next day at co-op.  See Rule #1 above.

The next week, we begin again.  We follow the directions and whirl some peas around.

2014-12-01 007

Then strain the liquid out using a tea strainer.

2014-12-01 008

Add the soap. This time I used the blue DAWN liquid dish soap.  The experiment said to use clear, but I didn’t have any.  We had no problem with the blue soap.

A coffee stick was used to stir.  A wooden skewer works so much better.

2014-12-01 009

After adding cold Rubbing Alcohol (I put it in the refrigerator), there is DNA!  Woo-hoo.  Students did not care. LOL

2014-12-01 015

The white stringy stuff is the DNA.  Looks like nose goo.  Lovely.

2014-12-01 013

If you use a long wooden skewer, the DNA will stick to it and you’ll be able to bring the DNA out of the jar for a closer look.

2014-12-01 012

Please have a look at my post from 2009, DNA from Peas!    I don’t know how we did it, but this is the best example of this experiment.

I am sorry for not keeping up with what is going on in Biology.  This week I have several post scheduled to get us caught up, then we break for Christmas.

Enjoy!

Edible Cell Winners!

2014-11-10 049_edited-1

The Most Meticulous

2014-11-10 012

The Most Beautiful

2014-11-10 069

The Most Hideous

2014-11-10 027

The Most Peculiar

2014-11-10 015

She’s mine. 🙂

2014-11-10 021

She’s mine. 🙂

2014-11-10 074

After the feast.

Appliejuice Etsy Shop  –  has a letter to students explaining the mission (project), Student Grade Sheet, Teacher Rubric, and a list for the teacher of what is required in the cell. That’s a helpful tool while grading. 🙂

Yummy Yummy Cells!

Yes!  Edible Cells!   The third fun hands on activity for Module 6 in Exploring Creation with Biology.

I did not assign this project.  Two weeks ago, our class had a visitor.  An odd visitor.  Dr. Gootenbur….  uh, I can’t even spell this person’s name.  I don’t think I can even pronounce this person’s name.  Oh well.

DSC_0207

He decided it was a good time to hand out the Mad Science Project.  Each student was given the instruction sheet and a caution.  They were not to make a living cell.  That would be like so wrong!

My girls got busy!  Buy lots and lots of candy.

The girls

One made a boxed cake and the other made a giant cookie.  Icing was colored and spread all over the place. All.over.the.place.

2014-11-09 016

Icing and cake pieces were used to make the nucleus for one of the cells.  Once it was made one daughter announced it looked like a dung pile.  What do you think?

2014-11-10 056

A popcorn ball was purchased at Wal-Mart for 25 cents for the other cell.  It was on clearance!  Sir Husband said they had a huge cart full of them.  To me that is a sign DO NOT EAT.  ewwww…..

2014-11-09 019

Cell is beginning to appear.  Twizzlers, gummies, and icing were used.  Since this was the daughter who said the chocolate nucleus looked like a dung pile, we let her know the chocolate droppings on the mitochondria looked like frog poo.  Seriously, it does.  We have seen it on our sidewalk.   Parenting has its rewards. 😉

The making

The final product.  The cell was not alive…BONUS!

Edible Cell Display

Eight students brought in eight edible cells.  The amount of work that went to each one ranged from extreme to ….well…. next to no effort at all.  LOL  Enjoy the slideshow of these Edible Cells.

This slideshow requires JavaScript.

Cells were displayed for all to see, enjoy….

2014-11-10 044

and vote on…

Vote 2014-11-10 039

and consumed.  Well one was so hard it would have taken a chainsaw to slice.

Rice Krispies

All students were sent home to fall into a sugar coma.  To the parents of my students, you’re welcome!

2014-11-10 076

Voting, by fellow students and facilitators,  was on the following:

  • Most Beautiful
  • Most Hideous
  • Most Peculiar
  • Most Meticulous – Picked by me.

Honestly, there wasn’t a Hideous one, but we voted on it anyway.  I have not awarded the certificates yet, so please come back next Wednesday to find out who won these categories.  In the meantime, who do you think won?

Go here to see the printables for this project.

Or visit my Etsy shop for more detailed items.


Physical Change/Chemical Change/Edible DNA all in one post!

Exploring Creation with Biology

Module 5 – The Chemistry of Life

Sometimes it is hard to explain the difference between Physical Change and Chemical Change.  I don’t know why that is,but it is hard.

Physical Change –  A change that does not produce a new substance and is usually reversable.

Chemical Change – A change that makes a new substance and usually cannot be reversed.

Best way to get this idea across is with Play-Dough!  If I had time in the classroom I would have made homemade play-dough.  This would be a perfect example of Chemical Change.  Take salt, water, cream of tartar, food coloring etc… mix it, add heat and Wah-lah you have changed the ingredients into Play-Dough.  It cannot be undone.  Want a recipe for this?  You can find an Easy Homemade Play-dough recipe here.

It is sad that I did not have time to do that.  I handed each student one color of play dough.  I explained how the play-dough is made and that is a Chemical Change.  While they are playing around and sculpting, I explain Physical Change.

2014-10-20 007

I thought for sure they would just make balls or snakes, or a block.  You know, something not extraordinary.  Nope, the girls above made a petri dish and a pink butterfly.

Another student made a DNA strand, while another student (not even in my class, but likes to visit) made a snowman. LOL  My daughter below, got busy sculpting.

2014-10-20 006

She made a very cute elephant.  Is the elephant still play-dough?  Can it be squished back into the container or into another shape?  Why, yes it can!  That’s Physical Change, folks.

2014-10-20 009

There was only one class time for this module and it really needs to  be at least two.  Because of this I did not get into the Proteins, Enzymes, Carbohydrates, Acids and Bases, as much as I wanted.   With only 20 minutes left of the class, I gave the kids the fun project of making their own Edible DNA.  You can find the instructions at Teach Genetics.

Unfortunately, I didn’t have colored marshmallows.  We used gummy bears instead.  Marshmallows work a WHOLE LOT better.

2014-10-20 010

The kids started building, while also consuming copious amounts of Twizzlers and gummy bears.

2014-10-20 017

Yummy!  Edible DNA.  If you use marshmallows, the twist is easier and looks better too.  However; gummy bears taste better than colored marshmallows!

2014-10-20 016

After the photo below was taken, all Twizzlers and gummy bears were gone.  The girl second from the left ate seven Twizzlers and countless number of gummies.  The boy with the awesome spider shirt was so overloaded with sugar, he was bouncing off the walls in his English class.  That was his mom’s class.  She was thrilled.  That’s what I keep telling myself.

2014-10-20 022

Besides making the DNA, the students had to fill out a worksheet.  You can find my DNA worksheet here.  I will see if I can find a completed worksheet to post here, so you can see how they do it.

Have fun with play-dough and candy.